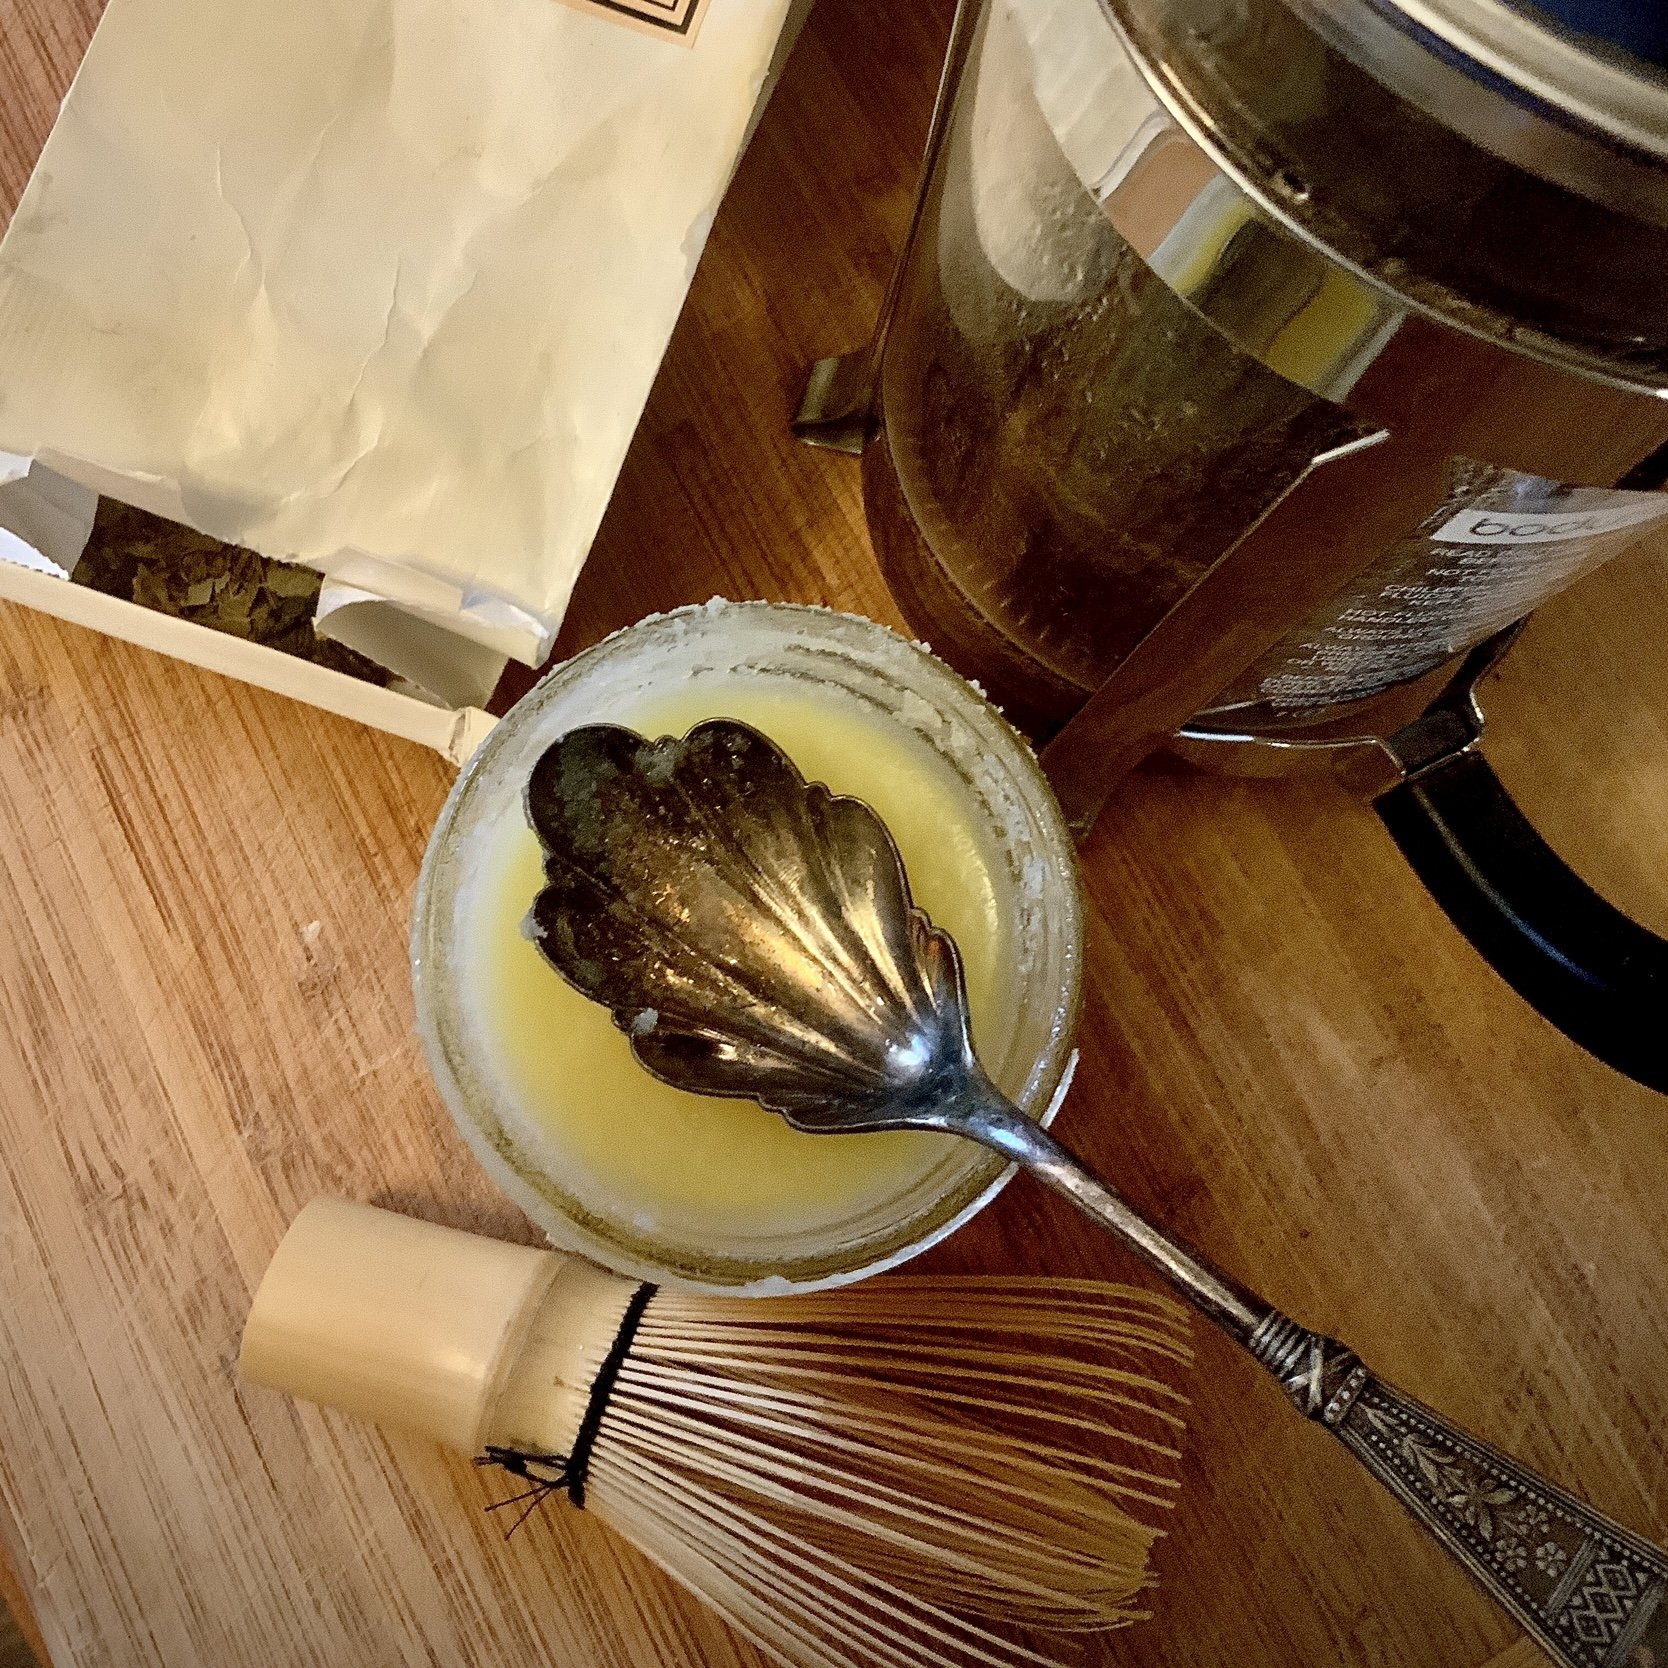
Golden Goodness: A Simple Guide to Crafting Homemade Ghee in Your Oven
I have always made ghee on my stove from store bought, unsalted butter. I had never considered baking the ghee in the oven until a few weeks ago when I learned how much easier it is to make. And ever since we began getting our raw, organic dairy locally, we’ve noticed a huge difference in the taste and our health! I invite you to unlock the rich, nutty flavors of clarified butter with my DIY guide for making ghee. This age-old culinary secret not only enhances your cooking but also offers a delightful twist to your culinary repertoire. Enjoy this step-by-step process of crafting golden ghee right in your oven.
Ingredients:
Fresh, raw, organic dairy butter (of course, you can use any butter you’d like but fresh is best)
A clear baking dish
Cheesecloth or a fine mesh strainer
A glass jar & tight fitting lid for storage
Step 1: Preheat Your Oven
Set your oven to a low temperature, around 250°F (120°C). This gentle heat will allow the butter to slowly melt, separating the milk solids from the liquid gold.
Step 2: Melt the Butter
Place butter in your baking dish and let it melt slowly in the preheated oven. As it melts, you'll notice the separation of three layers: the clear liquid (ghee), the milk solids on the bottom, and the foam on top.
Step 3: Skim the Foam
Using a spoon, skim off the foam from the surface of the melted butter. This foam consists of impurities and milk solids that you want to remove to achieve pure, golden ghee. I save this as a treat for my pets.
Step 4: Bake Until Clarified
Allow the butter to continue baking until the liquid turns a beautiful golden color, and the milk solids settle at the bottom. This may take 1 to 1.5 hours, depending on your oven.
Step 5: Filter the Ghee
Once clarified, remove the baking dish from the oven and let it cool slightly. Line a fine mesh strainer or cheesecloth over a glass jar and carefully pour the liquid through to separate any remaining solids. I save the solids in a separate jar for buttering bread or lining a baking dish. Store this in your refrigerator.
Step 6: Store and Enjoy
Transfer your freshly made ghee into a clean glass jar with a tight-fitting lid. Store it in a cool, dark place or refrigerate if desired. Ghee is shelf stable, so it doesn’t have to be refrigerated.
Call to Action:
Elevate your culinary experience by incorporating this homemade ghee into your favorite dishes. Whether you're sautéing vegetables, frying eggs, or drizzling it over popcorn, the golden richness of your homemade ghee will undoubtedly elevate your creations. Share your ghee-making journey with us on social media using #MagnoliaHillGhee – let's inspire others to embark on this flavorful adventure!

